目標
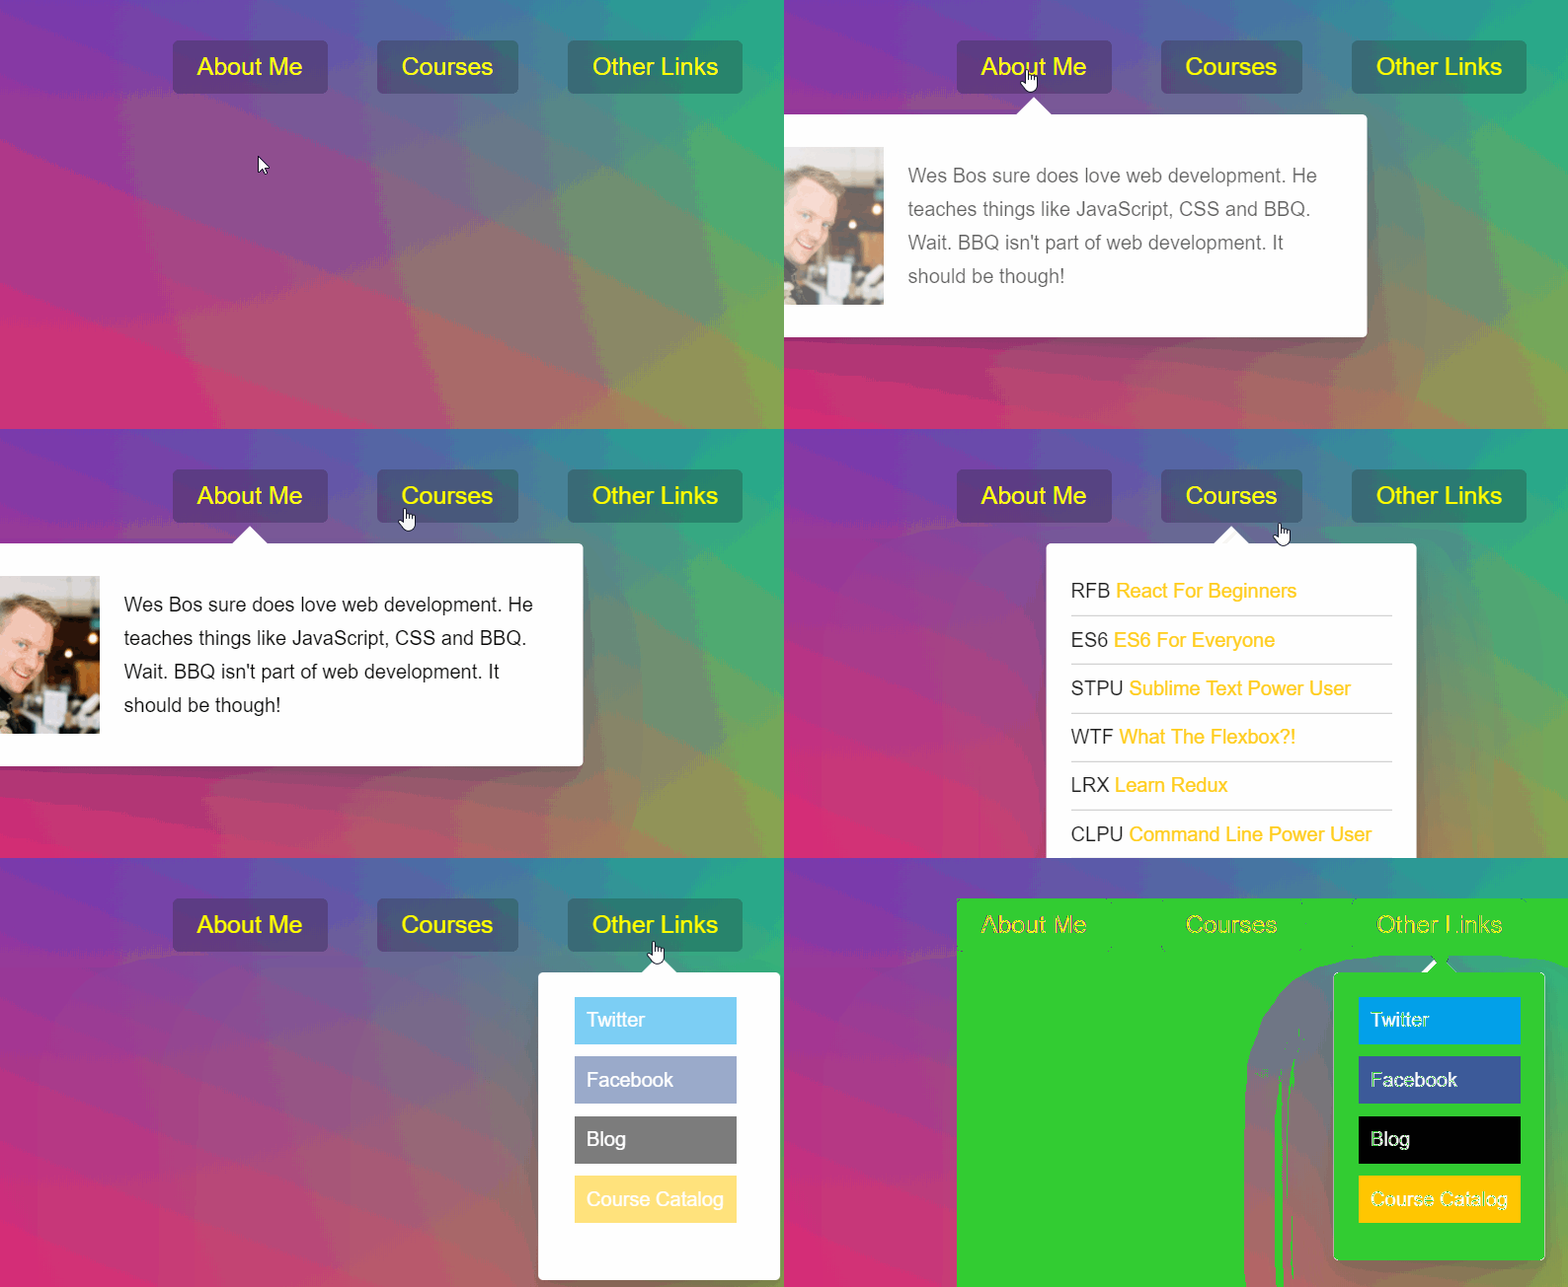
類似 day22 Follow Along Link Highlighter 的概念,製作一個跟隨移動的強調下拉選單。

Demo | Github
處理步驟
先製作強調的外框 DOM 與下拉選單的內容,利用 CSS 中的 opacity 與 display 來隱藏,之後透過 JS 在移動至選單標題時,進行外框大小的變化與 CSS 的顯示
步驟 1.
取的所有標題元素,並建立移動到元素上與離開的觸發事件
1
2
3
4
5
6
7
8
9
10
11
12
13
14
15
16
17
18
| const triggers = document.querySelectorAll('.cool > li');
function handleEnter() {
}
function handleLeave() {
}
triggers.forEach(trigger => trigger.addEventListener('mouseenter',handleEnter));
triggers.forEach(trigger => trigger.addEventListener('mouseleave',handleLeave));
|
步驟 2.
透過 CSS 操作顯示與隱藏
1
2
3
4
5
6
7
8
9
10
11
12
13
14
15
16
17
18
|
function handleEnter() {
this.classList.add('trigger-enter');
background.classList.add('open');
this.classList.add('trigger-enter-active');
}
function handleLeave() {
this.classList.remove('trigger-enter','trigger-enter-active');
background.classList.remove('open');
}
|
步驟 3.
調整箭頭指向框位置與大小,使其符合下拉選單的內容
1
2
3
4
5
6
7
8
9
10
11
12
13
14
15
16
17
18
19
20
21
22
23
24
25
26
27
28
29
30
31
32
|
const background = document.querySelector('.dropdownBackground');
const backgroundCoords = background.getBoundingClientRect();
function handleEnter() {
this.classList.add('trigger-enter');
background.classList.add('open');
const dropdown = this.querySelector('.dropdown');
const dropCoords = dropdown.getBoundingClientRect();
background.style.width = `${dropCoords.width}px`;
background.style.height = `${dropCoords.height}px`;
background.style.transform = `translate(${dropCoords.left - backgroundCoords.left}px,${dropCoords.top - backgroundCoords.top}px)`;
this.classList.add('trigger-enter-active');
}
|
筆記與備註事項
JavaScript 部分
當滑鼠移動到元素上的時候觸發;類似 mouseover ,其差異點在於 mouseenter 不會冒泡。
當滑鼠離開元素的時候觸發;類似 mouseout ,其差異點在於 mouseleave 不會冒泡。
取得元素的位置各項資料
設定 CSS 樣式
CSS 部分
為實驗性功能,簡單說就是當某個 css 需要
參考資料